How to Easily Clean the Difficult Areas in Your Kitchen?

Maintaining a healthy and hygienic home requires keeping the kitchen clean. However, some kitchen sections can be challenging to clean and need special care and attention. This comprehensive guide will give you useful advice and ways to easily handle the most difficult cleaning tasks in your kitchen and Clean the Difficult Areas in Your Kitchen, from removing oil and dirt from the stovetop to getting rid of persistent aromas.
Cleaning the Stovetop to Remove Grease and Grime
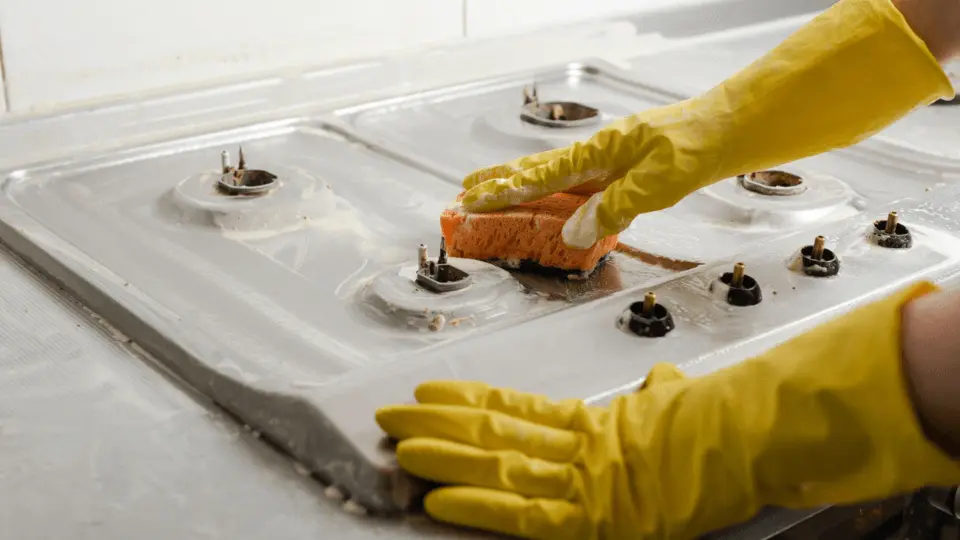
Although the stovetop is the center of the kitchen, grease, and filth can also be drawn to it. Here’s how to easily handle this challenging situation.
Cleaning the stovetop before use
The stoves must be ready before beginning the cleaning process:
- Remove any loose debris: Start using a paper towel or damp cloth to remove any loose debris, food fragments, and crumbs from the stovetop surface.
- Grates and burners should be soaked if your stove top has removable grates and burners to help remove any residue or tough stains.
Making a Cleaning Solution at Home
Follow these instructions for an efficient and environmentally friendly cleaning solution:
- In a spray bottle, combine vinegar and water in equal parts.
- Concentrating on areas with obvious grease buildup, liberally mist the liquid over the stovetop surface.
- For the grease to break down, let the solution sit for a while.
Cleaning the Surface of the Stovetop
It’s time to remove the grease and filth now that the cleaning solution has had time to do its magic:
- Gently scrape the stovetop surface using a non-abrasive sponge or scrubber to remove the grease. Steel wool and abrasive pads should not be used as they could scratch the surface.
- Make a paste of baking soda and water to treat tough stains by combining the two ingredients. Apply the paste to the difficult stains, then wait a short while before scrubbing.
Cleaning the stovetop and drying it
It’s important to thoroughly clean and dry the stovetop after removing the grease:
- Rinse with fresh water: Remove any leftover cleaning solution or baking soda paste residue with a damp towel or sponge Cleaning services Kuala Lumpur.
- Finally, use a microfiber cloth to dry the stovetop completely and avoid leaving water stains or streaks.
Efficiently Cleaning a Dirty Oven
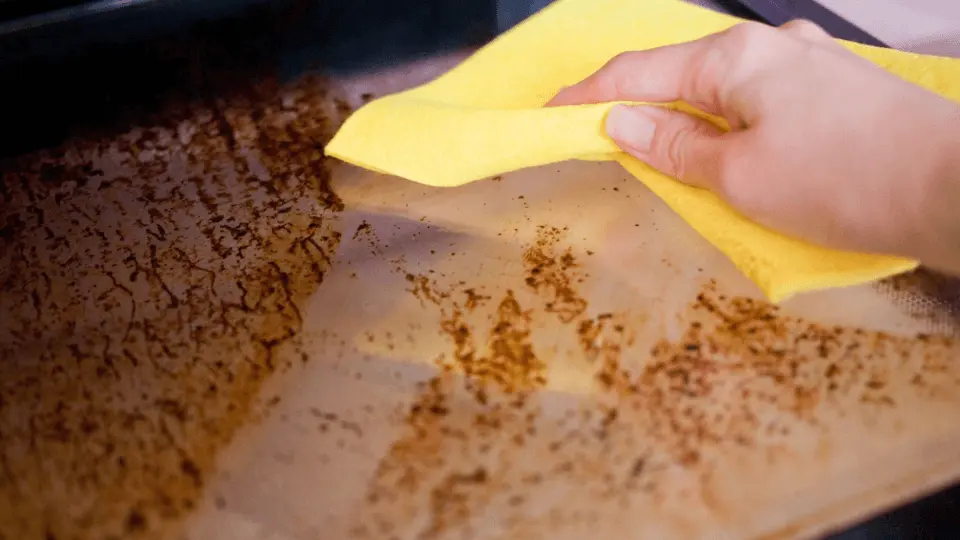
Another place in the kitchen where dirt and difficult stains can amass is the oven. To overcome the challenging cleaning issues of the oven, adhere to the following steps and consider using chemicals used in oven cleaning for more effective results:
- Take off the oven racks, then place them in a sink or other big container filled with warm, soapy water to soak.
- Let the racks soak all night to help remove dirt and facilitate cleaning.
Coating the Interior of the Oven with Baking Soda Paste
- Spread the paste evenly: Avoid touching the heated elements as you spread the baking soda paste over the oven’s interior with a spatula or a sponge.
- Concentrate on problem areas: Ensure the paste is liberally applied to areas with lingering stains and accumulated filth.
Permitting the Paste to Do Its Work
Allow the baking soda paste to settle for at least 12 hours or overnight after applying it. This will give the baking soda enough time to dissolve the filth and grease effectively.
Eliminating the Grime
- Use a sponge or scrub brush: After the waiting period, remove the softened filth with a damp sponge or scrub brush.
- Be gentle: Steer clear of using anything abrasive that could damage the internal surface of the oven. The loosening of the filth should be easy to remove with a non-abrasive sponge or scrubber.
Cleaning and Changing Oven Racks
- Remove the residue: To remove the baking soda residue from the oven’s interior, use a clean, moist cloth.
- Rinse the oven racks: Take the oven racks out of the soapy water and scrape any remaining dirt off of them using a sponge or brush while the oven inside is drying.
- After the oven interior has dried and been thoroughly cleaned, return the oven racks to their original locations.
Preventing Spills and Odors from Refrigerators

The refrigerator is a necessary component of the kitchen, but it may also produce smelly spills and aromas. Here’s how to easily handle this challenging situation:
Cleaning out and organizing the refrigerator
- Empty the contents: Begin by taking everything out of the refrigerator and setting it on a nearby counter.
- Check the expiration dates on the food products and throw away anything that is no longer safe to eat.
Formulating a Cleaning Agent
- Create a cleaning solution by combining water and white vinegar in an equal ratio in a spray bottle.
- Optional: To leave a clean aroma in your refrigerator, mix a few drops of essential oil into the solution.
Cleaning Interior Surfaces
- Take out shelves and drawers: To give the refrigerator a deeper clean, take out the shelves and drawers.
- Wipe off surfaces: liberally spray the refrigerator’s internal surfaces with the cleaning solution before wiping them down with a fresh cloth or sponge.
- Ensure that any spills or stains are removed from the shelves and drawers by wiping them down with the same cleaning solution.
Managing Difficult Spills
- Make a paste out of baking soda and water to tackle odors or spills that just won’t go away.
- Paste application: Apply baking soda paste immediately on odors or spills and give it a few minutes to work.
- Gently scrub the spills and odors away using a soft sponge or cloth, then rinse with fresh water.
Keeping Your Refrigerator Fresh
- A box of baking soda should always be kept open in the refrigerator to help the food stay fresh-smelling and absorb odors.
- Check for spills frequently: To stop odors from developing, frequently look for spills or food that has gone bad.
Dealing with Dirty and Sticky Cabinets
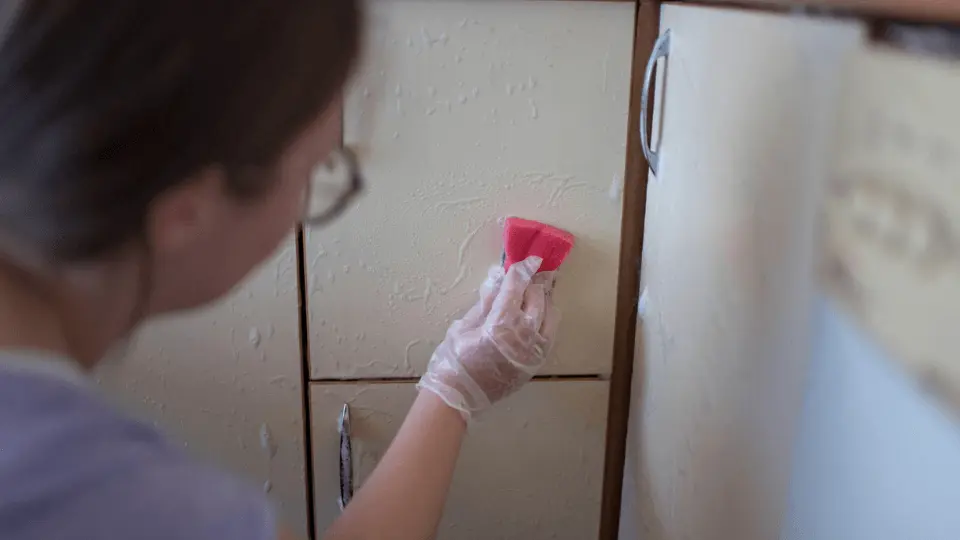
Grease and dirt buildup on kitchen cabinets is common due to cooking activities. Here’s how to effectively clean them:
Taking Off Cabinet Hardware
- Unscrew the hardware: Carefully take off the handles, knobs, or other cabinet hardware using a screwdriver or other suitable instrument.
- Soak in warm, soapy water: Pour warm water and a few drops of dish soap into a sink or other container. To soak, submerge the hardware in soapy water.
Cleaning the cabinet surfaces
- Create a cleaning solution by combining warm water, a gentle all-purpose cleanser, and mild dish soap in a bucket or spray bottle.
- Using a soft cloth or sponge dipped in the cleaning solution, gently wipe down the cabinet surfaces, paying special attention to any areas where there is obvious grease or filth.
Eliminating Sticky Grease
- Use vinegar and water: Mix equal amounts of white vinegar and water to remove tough grease stains.
- Apply the remedy by gently scrubbing the oily portions of the cabinets with a clean cloth or sponge dipped in vinegar and water solution.
- After cleaning, rinse the cabinets with clean water to get rid of any last-minute residue.
Reattaching Hardware After Drying
- Dry the cabinets: Wipe the cabinet surfaces down completely with a clean, dry cloth to make sure there is no moisture left.
- Reattach the hardware when the cabinets have dried out by using the proper screws or fasteners to reattach the handles, knobs, or other hardware.
Cleaning Sinks and Drains to a High Standard
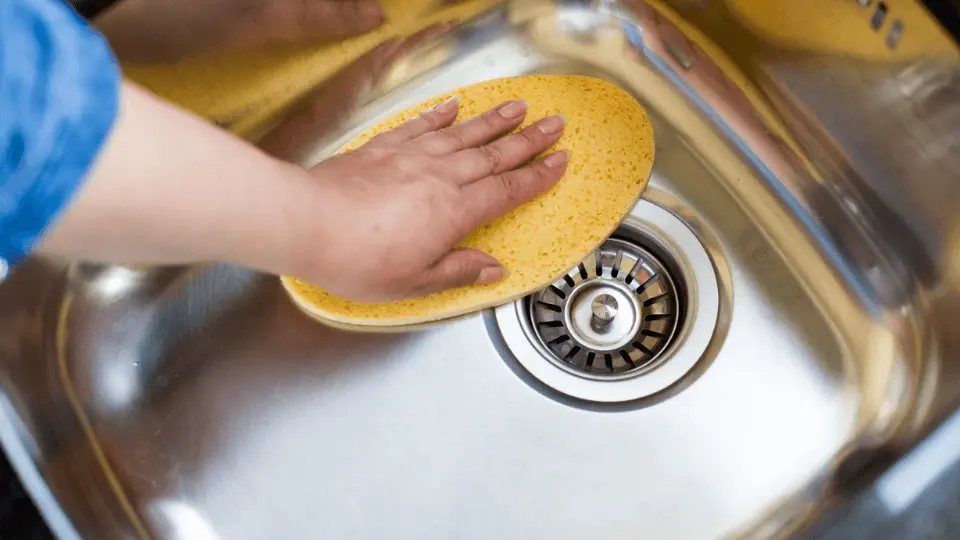
Bacteria and bad odors can thrive in the kitchen sink and drain. Here’s how to easily handle this challenging situation:
Cleaning Up Around the Sink
- Dishes, cutlery, or food scraps should all be removed from the sink.
- Food waste should be disposed of properly by placing it in the compost or garbage.
Unclogging the Drain
- Method using boiling water: To help clear any clogs or buildup, start by pouring boiling water from a kettle or pot down the drain.
- Method using baking soda and vinegar: Add a solution of 1/2 cup baking soda and 1 cup vinegar as a follow-up. Pour it down the drain and allow it to settle for a while so that it can bubble and dissolve any leftover particles.
- Hot water flushing: To remove the dissolved clog, finish by flushing the drain with hot water.
Cleaning the Sink’s Odor
- Using lemon and ice, make ice cubes by slicing a lemon into small wedges. Place water in the tray and then freeze. To freshen the sink and get rid of odors, run a few of these lemon ice cubes through the garbage disposal.
- Method using baking soda and vinegar: Pour a cup of vinegar into the sink after adding a handful of baking soda. Before rinsing with hot water, let the mixture bubble and sit for a while.
Cleaning Out Cluttered Utensil Drawers
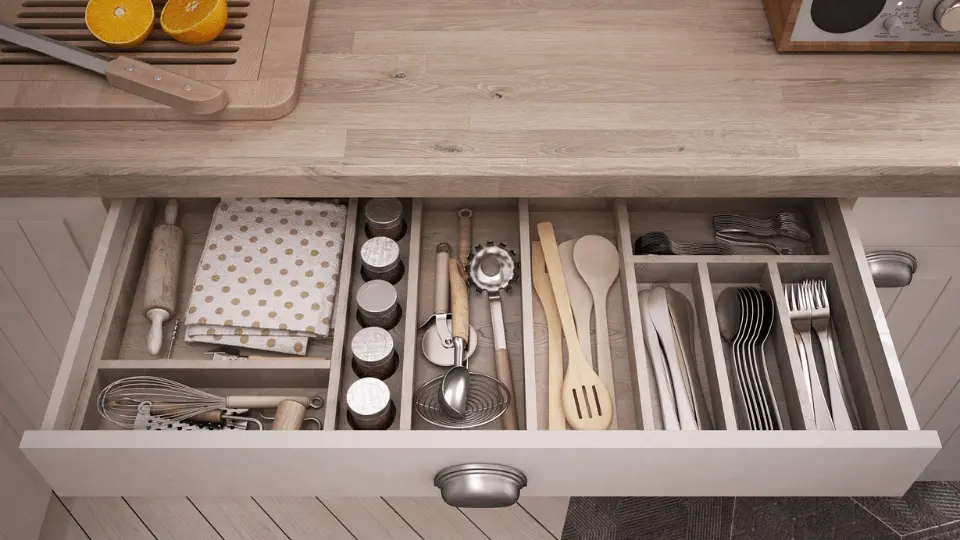
Drawers containing utensils are prone to clutter and disarray. Here’s how to take on this challenging region and maintain organization:
Utensil Emptying and Sorting
- Empty the drawer: Take every item out of the drawer and set it on a spotless surface.
- Sort and clean up: Go through the utensils and get rid of everything that is broken or not in use. Items that go elsewhere in your kitchen should be set aside.
Sort and Classify
- Sort your utensils into different groups, such as spoons, forks, knives, and other specialist equipment.
- Place the drawer dividers or organizers in the drawer to create distinct compartments for each category of utensil.
- Put utensils in specified areas: Arrange the utensils neatly in their respective areas, making sure that each item has a space of its own.
Putting Effective Systems in Place
- Use drawer inserts: To further organize tiny items like measuring spoons or gadgets, think about utilizing drawer inserts or trays.
- Create a system: Assign frequently used utensils to specific locations where they are conveniently located. Use the front of the drawer just for practical goods.
- Encourage family members to preserve the drawer’s organization by encouraging them to put utensils back in their proper places after use.
Getting Rid of Sticky Microwave Messes
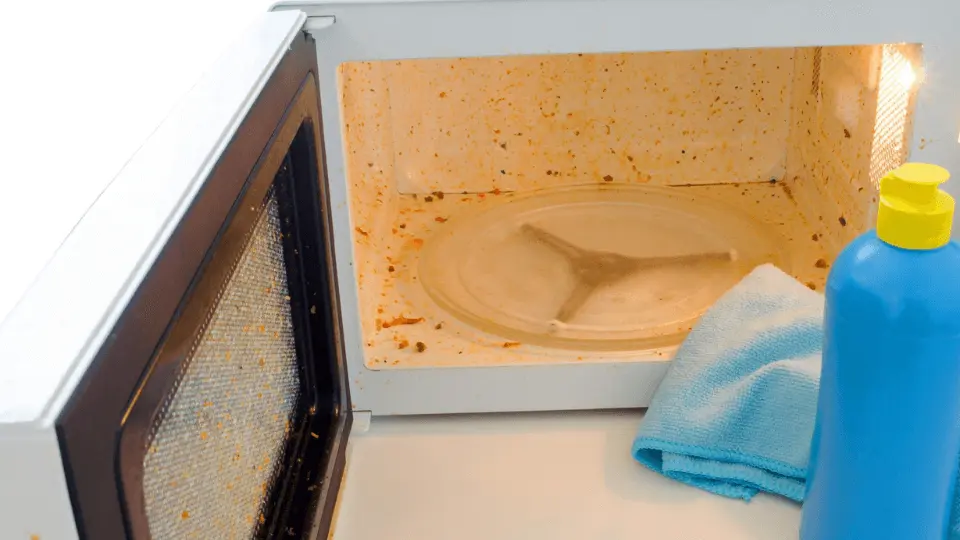
Cleaning a microwave can be difficult because spills and splatters can build up quickly. Here’s how to handle microwave spills without difficulty:
Using Steam to Soften Stains
- Fill a microwave-safe bowl: Add a tablespoon of vinegar or a couple of lemon slices to a microwave-safe dish of water.
- Heat the bowl in the microwave on high for two to three minutes or until the water boils and steam begins to come out.
- Let it sit: Allow the steam to soften the stains and filth by keeping the microwave door closed for a few more minutes.
Cleaning the Interior
- Use oven mitts or a cloth to cover your hands as you carefully remove the microwave-heated bowl from the appliance.
- Wipe the interior: Using a moist sponge or cloth, wipe off the microwave’s internal surfaces, giving special attention to any areas where spills or stains have occurred.
Getting Rid of Stinky Stains
- Pour equal volumes of water and vinegar into a spray bottle or bowl that can go in the microwave to make a cleaning solution.
- Apply the solution: Soak a sponge or cloth in a vinegar and water mixture, then scrub away any lingering residue or stains.
- Rinse and dry: Use clean water to thoroughly rinse the sponge or cloth before using it to wipe out the interior of the vehicle. Finally, use a fresh cloth to dry the interior.
Exterior Cleaning
- The microwave’s exterior, including the handle and control panel, should be cleaned using a multi-surface cleaner or a solution of mild dish soap and water.
- Dry and shine: After cleaning, use a clean cloth to dry the outer surfaces, leaving the microwave bright and streak-free.
Eliminating Persistent Food Odors

The kitchen might become unpleasant to be in if there are persistent food odors. Here’s how to counteract and get rid of those offensive odors:
Air Circulation and Ventilation
- Open windows and doors to allow fresh air to circulate, which will improve ventilation in the kitchen.
- Use exhaust fans: To get rid of cooking smells and enhance airflow, turn on exhaust fans or range hoods before you start cooking and for a while after.
Using Baking Soda to Remove Odors
- Maintain an open box of baking soda in the kitchen, ideally close to the source of odors. Unpleasant odors are naturally neutralized and absorbed by baking soda.
- Replace frequently: Change the baking soda in the box every few months or whenever it stops appearing to be efficient at absorbing odors.
Natural Fragrances Simmering
- To make a simmer pot, add aromatic things like citrus slices, cinnamon sticks, cloves, or herbs like rosemary or mint to a pot of water.
- Simmer on low heat: Set the pot on the stovetop and simmer for a little time so that the aroma will permeate the entire kitchen.
- Keep a check on the water levels and top them out as necessary to keep the pot from drying out.
Making Use of All-Natural Air Fresheners
- Citrus peels can be used. Keep citrus peels from lemons, oranges, or grapefruits in a basin or close to the kitchen sink. They emit a fragrant gas that covers odors.
- Use dry coffee grounds: Place the bowl of dry coffee grounds in the kitchen to absorb bad aromas.
Continual Upkeep and Cleaning
- Regular surface cleaning is important to keep odors from remaining. Wipe down tables, countertops, and other areas frequently.
- Empty the trash can periodically to minimize odor accumulation. Kitchen waste should be properly disposed of.
- Maintain a clean refrigerator: To stop bad odors from spreading throughout the kitchen, remove any food that has gone bad, clean up spills, and deodorize the refrigerator occasionally.
Conclusion
The most difficult portions of your kitchen don’t have to be a daunting effort to clean. By using these professional pointers and tricks, you can properly clean the sink and drain, remove crusty microwave messes, conquer obstinate oven stains, erase refrigerator aromas, arrange utensil drawers, and attack grease and dirt on the stovetop.
To maintain your kitchen fresh and hygienic, bear in mind that frequent upkeep and cleaning are essential. You can effortlessly keep a spotless, hospitable, and functional kitchen by using these cleaning methods and natural cleaning products. So don your cleaning gloves and roll up your sleeves to make your kitchen a spotless area where you can relish cooking and spending time with loved ones.
Frequently Asked Questions
Cleaning Services We Are Providing
